Segment to Cubic
The Segment to Cubic action will convert either a line or quadratic curve into a cubic curve segment. A different behavior is received depending on the type of segment chosen for handle insertion:
-
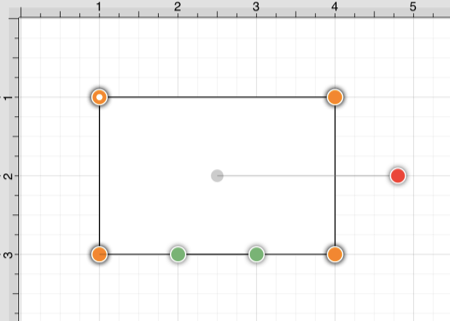
Line Segment - Two curve control points will be inserted at the 40% and 60% locations along the line and can be used to create the exact desired cubic curve.
-
Quadratic Curve Segment - The shape of the quadratic curve will be approximated with a new cubic curve segment.
In the provided example, the Line Segment located on the left side of the figure is converted into a Cubic Curve Segment. Follow the steps below:
Step 1: Click on the desired segment to select it and then Right Click (Control-Click) to open the contextual menu.
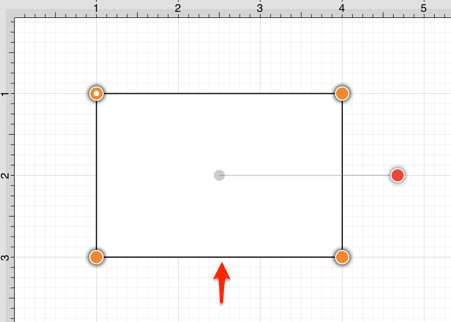
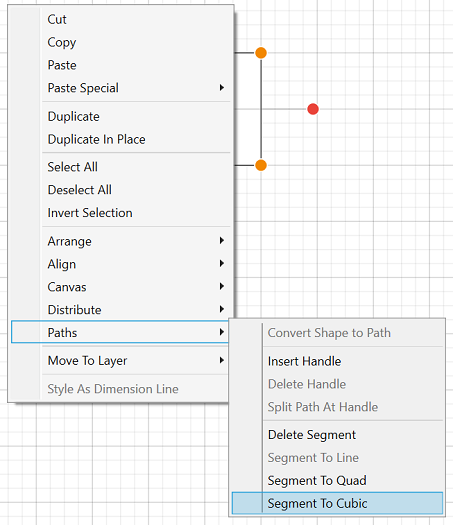
Step 2: Select the Path Submenu and then choose Segment to Quad.
Step 3: Two Cubic Curve Control Points (green) are inserted at the 40% and 60% locations on the chosen Line Segment.
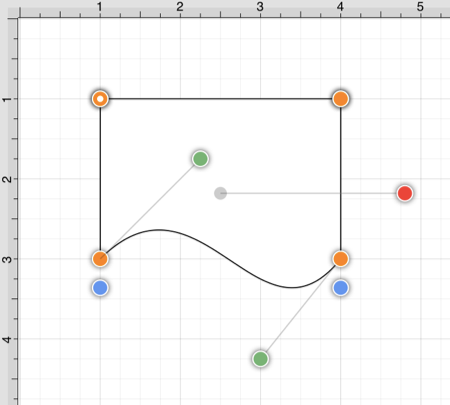
Step 4: Perform a Click/Drag combination to move either Cubic Curve Control Point in any direction. In this example, the left control point is dragged upward and the right control point is dragged downward. Refer to the image below:
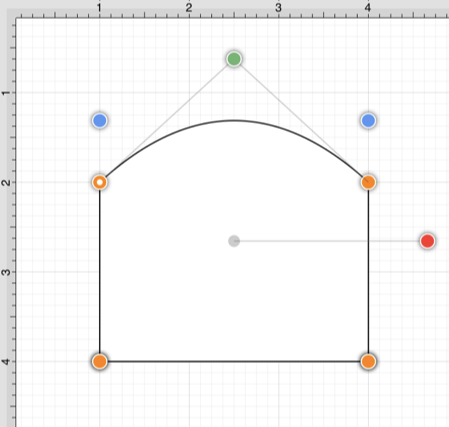
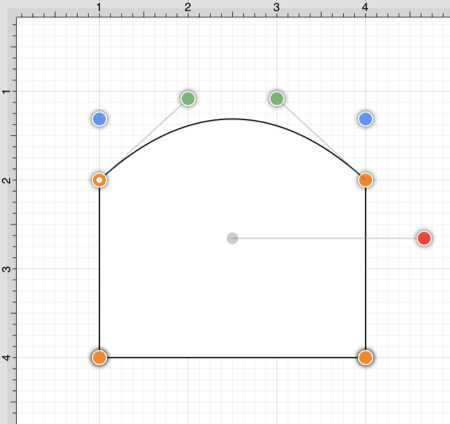
The following screenshots show the resulting control point and line changes when a Quadratic Curve Segment is converted to a Cubic Curve Segment. In this example, the top cubic curve is chosen for conversion. The Quadratic Curve Control Point (green) is approximated to create two Cubic Curve Control Points and the associated segment.
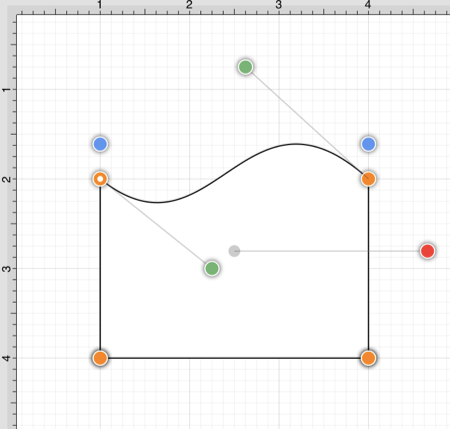
The provided Cubic Curve Control Points can be moved in any direction by performing a Click/Drag combination. In this example, the left control point is dragged downward and to the right. The right control point is dragged upward and to the left to create the desired Cubic Curve.
Note: Refer to the Handles Reference section of this documentation to learn more about each handle.